1. Introduction
2. Manage Navigation Menu
1. Introduction
Good online store navigation helps shoppers to find the products or information they desired easily. To create a good online shopping experience, the menu must be well organized.
2. Manage Navigation Menu
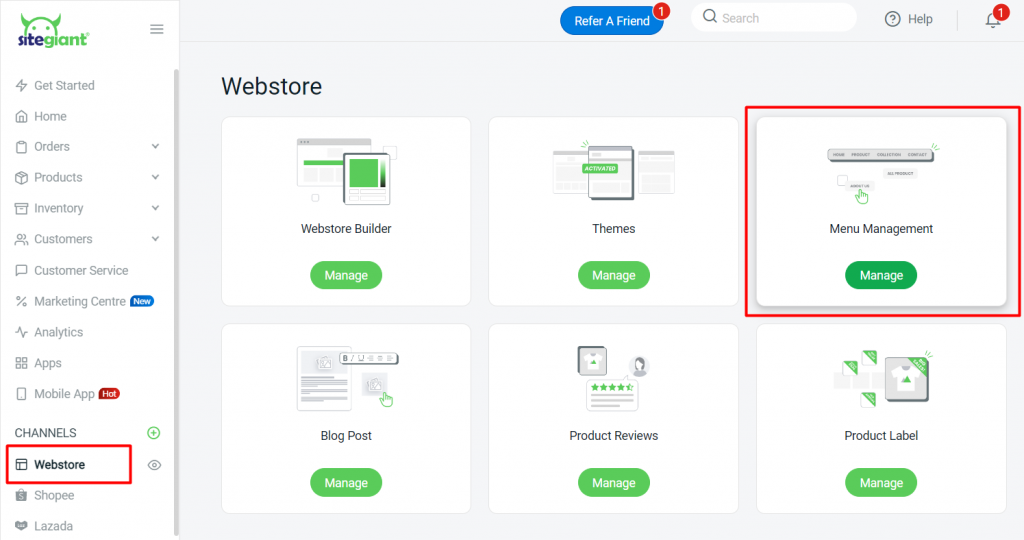
Step 1: Go to Webstore > Menu Management
Step 2: You can choose to Add New Menu Set to create your own menu or click the edit icon of the default Header and Footer to edit
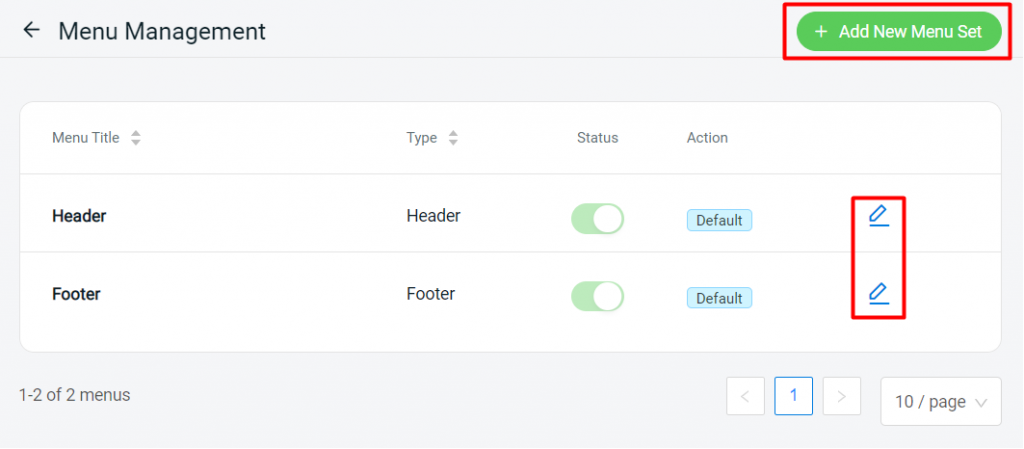
Step 3: Set the title for the menu and set the menu type if you choose to add a new menu set

Step 4: Click on Add Menu Item to create a new menu or click the edit icon to edit the existing menu
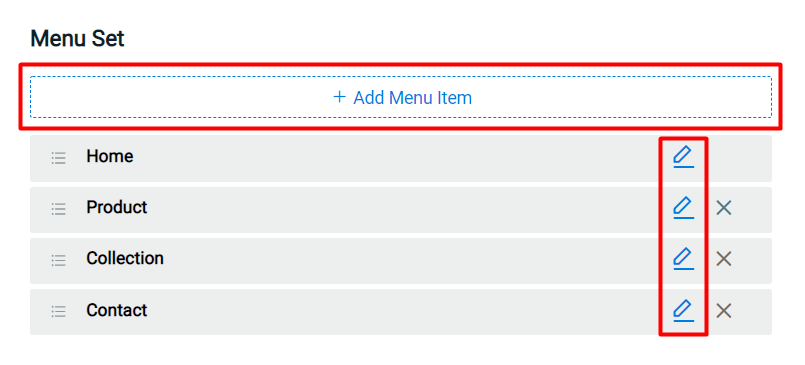
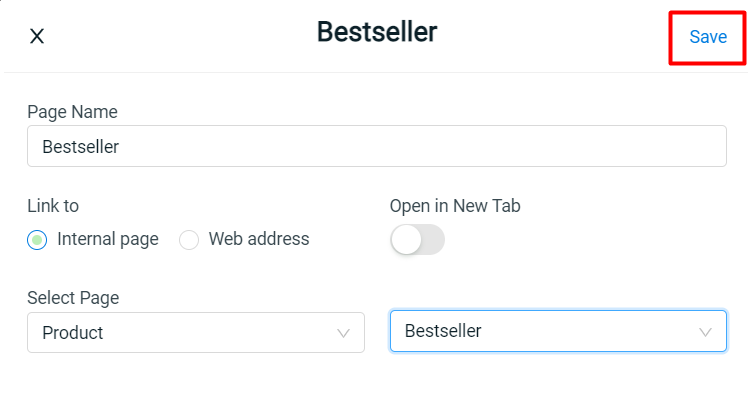
Step 5: Insert the Page Name > choose to link with an Internal page or Web address > Select page > enable Open in New Tab if you want a new tab to open after clicking the menu > Save
Step 6: Drag and drop to arrange the menu sequence or make it a sub-menu to the bottom of the main menu
Step 7: Save and done