1. Introduction
2. Create Product Tags
3. Assign Product Tags
1. Introduction
You can create and assign product tags to categorize all your product listings and ease yourself into filtering or searching products based on product tags. The product tags are for your own reference, and will not be displayed to the customers.
2. Create Product Tags
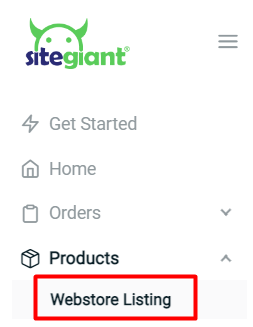
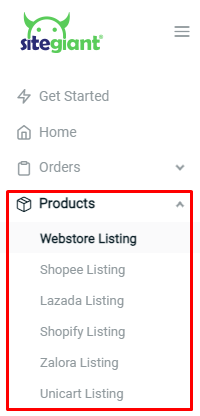
Step 1: Go to Webstore Listing from the Dashboard menu
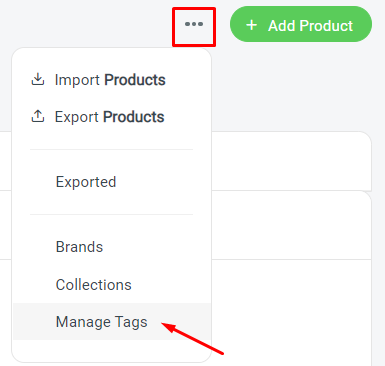
Step 2: Click on the More (…) menu > select Manage Tags
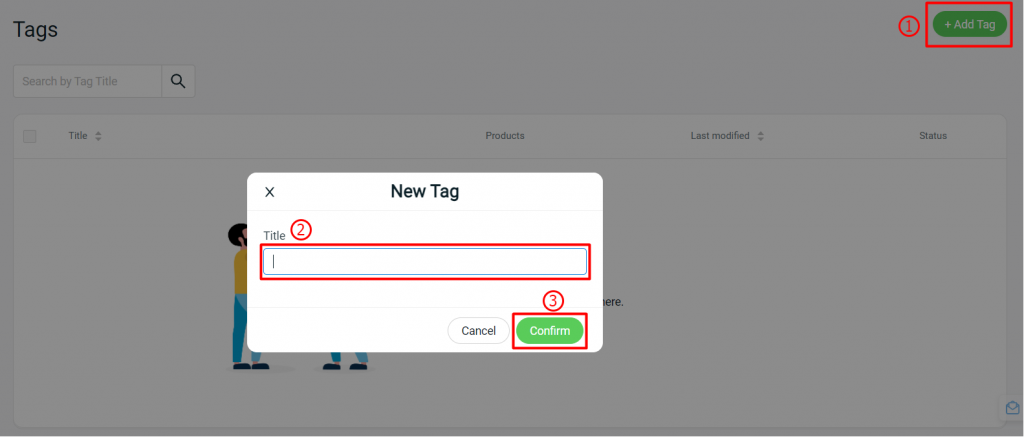
Step 3: Click on + Add Tag > insert Title > Confirm
3. Assign Product Tags
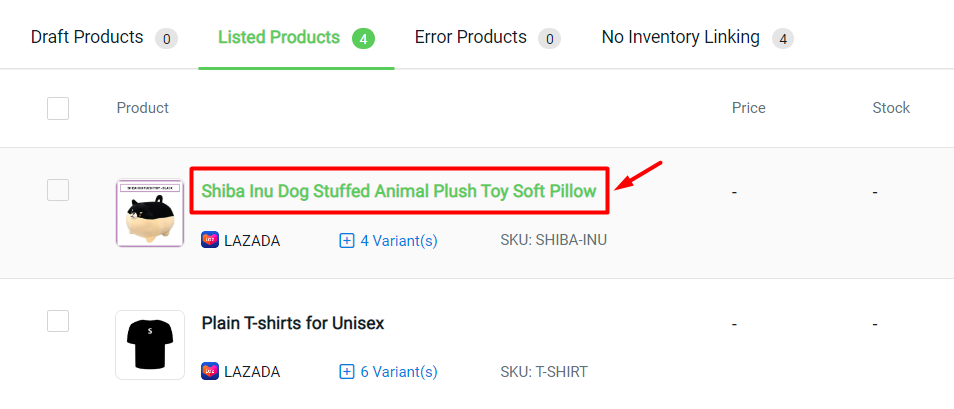
Step 1: Go to Marketplaces Listing
Step 2: Click on the product name to edit product details
Step 3: Assign the product with Tags that have been created > save/update

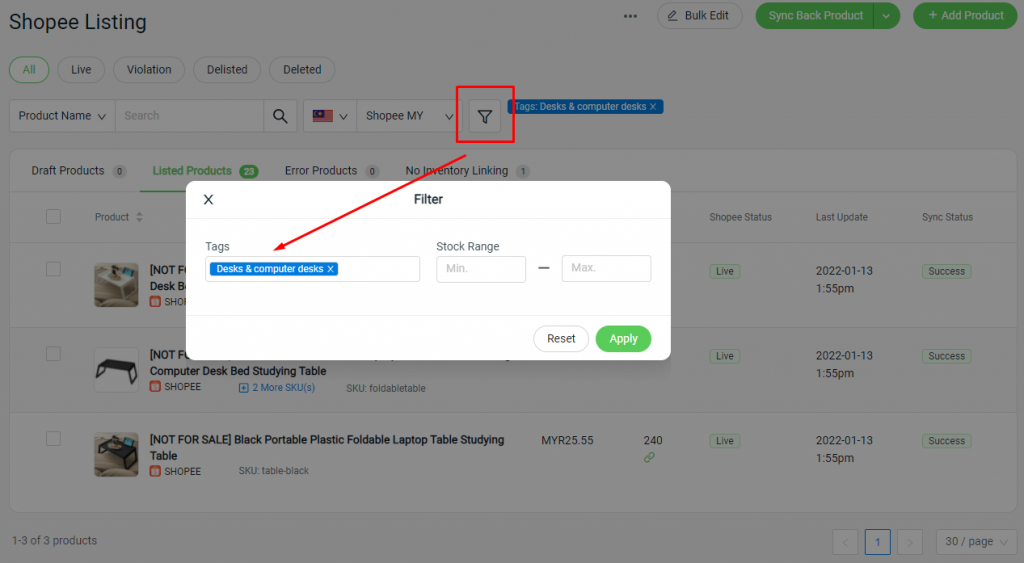
Step 4: You can filter and search the product based on the Tags